
How to Fix a Leaking Pipe
A leaking pipe can escalate from a minor inconvenience to a significant issue if not addressed promptly. Whether faced with a slight drip or a steady leak, understanding how to repair a leaking pipe can conserve your time, water, and finances. This guide offers step-by-step instructions on repairing a dripping pipe, addressing a leaking pipe joint, and minimising potential plumbing expenses.
Reasons Pipes Leak:
Pipes can develop leaks for several reasons, including:
- Corrosion: Older pipework may corrode over time.
- Loose Joints: Joints in the piping system can become loose.
- Accidental Damage: Repairs or renovations may inadvertently harm pipes.
- Temperature Fluctuations: Extreme temperature changes can cause pipes to expand or contract, leading to leaks.
Identifying the type and source of the leak is crucial when determining the best approach to repair a dripping pipe or a leaking pipe joint.
Importance of Prompt Repairs
Although a leaking pipe might appear to be a minor issue, it can result in several serious consequences, such as:
- Water Damage: Walls, floors, and ceilings can sustain damage over time.
- Higher Water Bills: Increased leaks can lead to substantially higher charges.
- Mould and Mildew Growth: Prolonged moisture creates an environment conducive to mould and mildew.
- Structural Damage: Persistent leaks can lead to long-term damage to the structure of your home.
Whether the leak is under a sink, behind a wall, or near a joint, it is essential to address the problem as soon as possible.
Tools and Materials Needed
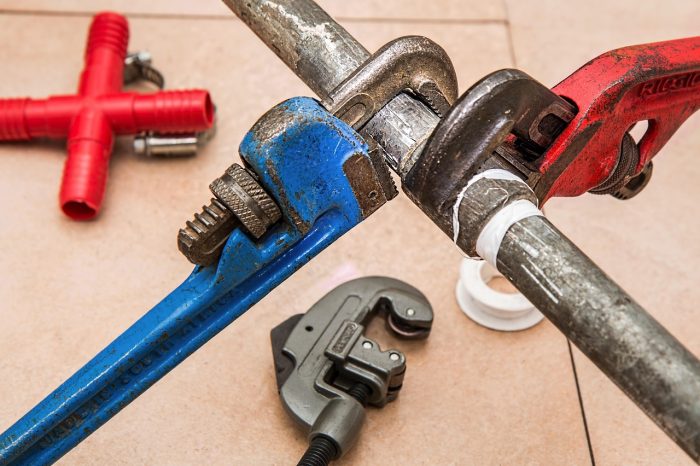
Before starting your repair, gather the following tools and materials:
- Pipe repair clamp or pipe repair tape.
- Adjustable wrench.
- Towels or a bucket for water catchment.
- Plumber’s epoxy or putty.
- Replacement parts, if necessary.
- Pipe cutter or hacksaw, for more complex repairs.
Many of these tools and supplies can be found at Build & Plumb, your go-to destination for all DIY and professional plumbing needs.
How to Fix a Leaking Pipe: A Step-by-Step Guide
1. Turn Off the Water Supply & Electric: Begin by shutting off the water at the main valve and the electric if near an outlet. This step is crucial to prevent further damage and to minimise any mess during the repair process.
2. Drain the Pipes: Open taps or valves throughout the house to drain residual water from the pipes. This action relieves pressure and helps stop any remaining leaks.
3. Locate the Leak: Carefully examine the pipes for signs of damp patches, dripping water, or corrosion. If the leak is situated behind a wall or ceiling, you may need to gently cut into the plasterboard to access the affected pipe.
4. Choose the Right Fix:
- For small holes: Apply plumber’s epoxy or pipe sealant according to the manufacturer’s instructions. This putty-like material seals leaks and hardens to effectively block water.
- For leaking joints: If the leak originates from a pipe joint, try tightening it with a spanner or applying pipe sealant. If the issue persists, the joint may need to be disassembled, thoroughly cleaned, and reassembled using fresh PTFE tape.
- For larger splits or burst pipes: Cut out the damaged section with a pipe cutter and replace it with a new fitting. Compression or push-fit connectors can be utilised, as they are user-friendly for DIY repairs and do not require soldering. Ensure to seek advice from a professional for larger leaks or burst pipes prior to attempting this yourself.
5. Test the Repair: Gradually turn the water supply back on and monitor the area for any drips. If the repaired section remains dry, then the repair is complete. If leaks persist, it may be necessary to consult a professional plumber for a more permanent solution.
How to Fix a Leaking Pipe Joint
Pipe joints are common areas that can develop leaks. Below are the steps to effectively address leaks in different types of joints:
Compression Joints:
Use a wrench to tighten the nut carefully. Be cautious not to overtighten, as this can cause damage. If the leak continues after tightening, turn off the water supply and disassemble the joint. Inspect the washer and replace it if worn. Alternatively, you can apply plumbing joint compound to the threads to create a better seal.
Soldered Joints (Copper Pipes):
Repairing soldered joints typically involves cutting the pipe and resoldering the joint. If you lack experience with soldering techniques, it is advisable to contact a professional plumber to ensure the repair is done correctly and safely. Taking these steps can help you effectively manage leaking pipe joints.
When to Replace the Pipe
When dealing with a pipe that is corroded, cracked, or extensively damaged, the most effective solution is to replace the affected section. To do this, use a pipe cutter to carefully remove the damaged area. You can then install new piping, utilising connectors or couplings to secure the replacement. This approach ensures a reliable and long-lasting repair.
Fixing a Leaking Pipe? Get Everything You Need at Build & Plumb.
Understanding how to repair a leaking pipe and a leaking pipe joint is essential for effective plumbing maintenance. It’s crucial to ensure that you have the right tools and materials for the task at hand. At Build & Plumb, we offer a comprehensive range of plumbing supplies suitable for both DIY enthusiasts and professionals. Take advantage of our extensive selection of plumbing tools and pipe fittings to effectively address leaks using quality products from Build & Plumb.
Comments are closed here.