
How to Save Your Garden in a Heatwave: The Ultimate Summer Watering Guide
There is nothing quite like a warm, sunny British summer, until you look out the window and notice your lawn turning a crisp shade of biscuit-brown and your prized hydrangeas drooping under the midday sun.
When a heatwave hits, keeping your outdoor space alive can feel like a full-time job. But throwing endless tap water at the problem isn’t just bad for your water bill; it can actually do more harm than good to your plants if done incorrectly.
At Build & Plumb, we want to help you work smarter, not harder. This ultimate summer watering guide breaks down the science of garden watering, answers your most common summer queries, and explains how a simple weekend project can secure your garden’s water supply for years to come.
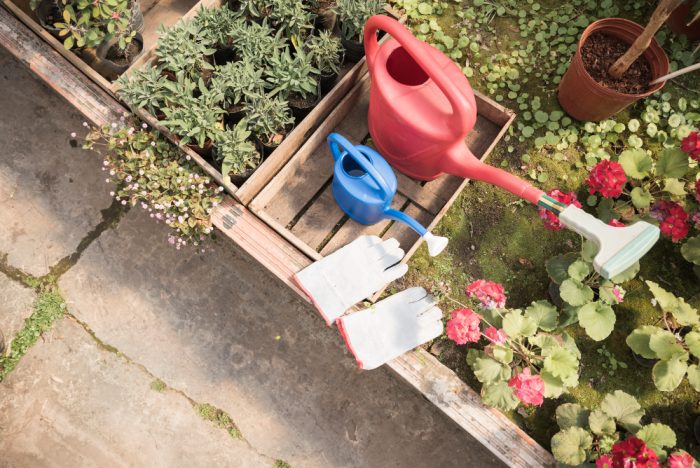
How Often Should I Water My Garden?
This is the golden question every summer. The short answer? Water deeply and less frequently, rather than giving your garden a light sprinkle every day.
When you water lightly every afternoon, the moisture barely penetrates the soil surface. This coaxes your plants into growing shallow root systems, making them highly vulnerable to drying out the second the sun beats down.
Instead, give your plants a thorough soak every few days. This encourages roots to grow deep into the earth to seek out moisture, creating resilient, drought-proof plants.
Here is a quick cheat sheet for summer watering frequencies:
| Plant / Area Type | Watering Frequency in a Heatwave | Best Technique |
| Established Lawns | Once a week (if at all) | Give it a deep soak. Remember: established grass is tough and will recover even if it goes brown. |
| Potted Plants & Baskets | Once or twice a day | Pots dry out incredibly fast. Water early in the morning and again in the late evening. |
| New Turf & Young Plants | Every day | Young root systems aren’t established yet. Keep the soil consistently damp but not waterlogged. |
| Vegetable Patches | Every 1–2 days | Vegetables need consistent moisture to produce sweet, juicy crops. Water deeply at the base. |
Three Rules for Smarter Garden Watering
To ensure your water actually reaches where it’s needed, follow these simple guidelines:
- Timing is Everything: Always water in the early morning or late evening. If you water during the heat of midday, up to 60% of the water can evaporate before it ever reaches the roots. Early morning is ideal as it allows plants to dry out during the day, preventing damp-loving fungal diseases.
- Aim for the Soil, Not the Leaves: Wetting plant leaves in direct sunlight can cause leaf scorch. More importantly, leaves don’t drink water; roots do! Aim your hose or watering can directly at the base of the plant.
- Trap Moisture with Mulch: After a deep watering, apply a thick layer of organic mulch (such as bark chips or compost) over your flowerbeds. This acts as a protective blanket, preventing the sun from baking the soil and evaporating your hard work.
The Ultimate Heatwave Hack: Water Butt Installation
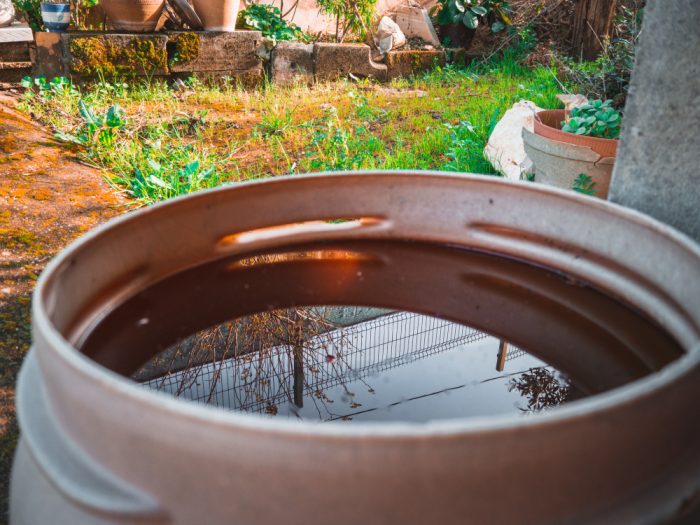
Relying entirely on mains tap water during a long summer can get incredibly expensive, and if a hosepipe ban is introduced, your garden could really struggle.
Investing in a water butt is the smartest upgrade you can make for your garden. Not only is rainwater better for your plants (it contains fewer chemical treatments and is naturally slightly acidic), but it’s also entirely free!
Don’t let the thought of plumbing put you off. A water butt installation is a highly rewarding, straightforward DIY project you can complete in under an hour.
Here is how to install one yourself:
1. Choose your location and level the base: 10 mins.
Position your water butt stand close to a rainwater downpipe. Ensure the ground beneath is flat and solid; a full water butt is incredibly heavy (a 200-litre butt weighs 200kg!). Use a paving slab or sturdy base if needed.
2. Measure and mark the downpipe: 10 mins.
Place the water butt on its stand next to the downpipe. Use a spirit level to mark a line on the downpipe that aligns perfectly with the inlet hole on the side of your water butt. This ensures water flows smoothly via gravity and won’t overflow the butt.
3. Cut the downpipe and fit the diverter: 15 mins.
Using a hacksaw, carefully cut a section from your downpipe at the mark you made (check the instructions for your rain diverter kit for the exact gap size required). Slot the diverter unit into the gap.
4. Connect the link pipe: 10 mins.
Drill or push out the entry hole on your water butt. Connect the flexible hose from the diverter unit to the water butt inlet. Put the lid on your water butt tightly to keep debris and pests out, and wait for the next rainfall!
Ready to prep your garden for summer?
Whether you need a new garden hose, professional-grade fittings, or the tools to get your rainwater harvesting system set up, we’ve got you covered. Head over to our main site to browse our extensive range of gardening tools, watering equipment, and outdoor supplies to keep your garden lush all summer long!
Comments are closed here.