
How to replace bathroom basin taps in 5 easy steps
Your basin taps are a crucial element of your bathroom. Fresh-looking fixtures can make your bathroom look sleek and stylish rather than dull and drab. If your basin taps are looking like they’ve seen better days, it might be time for a basin fixture refresh.
Whether you love the modern matte-black tap look or classic and reliable shiny chrome, refresh your bathroom basin with this easy step-by-step guide on tap replacement.
Replacing a basin tap can be fiddly if you don’t know what you’re doing, especially if you don’t have the right tools. So, in this guide, learn how to change a tap and discover all the tools you need to complete your bathroom tap replacement project successfully.
Table of contents:
Tools you will need:
Before you begin your tap replacement project, ensure you have all the correct tools for the job. You will need
- An adjustable wrench
- A basin wrench
- Plumber’s tape
- Towels or rags
- A bucket or container
Preparation
Before you remove your old tap, always prepare your work area. Clear the area around your basin to give you plenty of space to work, and place your towels or rags beneath the basin to catch any water drips.
How to replace basin taps in the bathroom in 5 easy steps
Follow the easy step-by-step guide to find out how to replace basin taps.
1. Turn off the water supply
First, turn off your water supply at the water supply isolation valve. Then, turn all your taps “open” to drain the water from the system. Keep the taps “open”.
How to turn off the water supply to bathroom taps
The water supply valve could be in different places in different homes. It could be under the kitchen sink or in an airing cupboard. You should be able to operate the valve yourself. Turn it clockwise a quarter turn to close it to stop the water flow. Always turn the valve slowly and never use force. If you over-tighten it or use excessive force, you could damage the valve. If you can’t close it, the metal may have fused. Contact a plumber to help you operate it.

2. Remove old taps
Next, remove your existing tap.
How to remove a tap
Get underneath your basin and use your adjustable wrench to loosen and remove the nuts securing your old taps to the basin. If necessary, use a basin wrench to access hard-to-reach nuts. Once you’ve unscrewed the nuts, separate the taps from the pipes and lift the tap out of the hole.
Check if you need a compression fitting to connect the copper pipes to the tap. Some pipes are different sizes and need a compression fitting to convert the sizes. Always replace old washers.

3. Fit new taps
Now you can install your new taps! Before you fit them, apply the plumber’s tape to the threads of your new taps to ensure a watertight seal. Position your new taps in the pre-drilled holes in the basin. There might be a washer to make the tap fit snuggly. Use the adjustable wrench or basin wrench to screw the nuts onto the thread posts underneath the basin to secure the tap.
Then, connect the plumbing. Screw the flexible connector into the taps and then connect the flexible hoses to the hot and cold water pipes with a compression fitting.

How to fit a mixer tap
Fitting a mixer tap is very similar to fitting a new pair of basin taps. The only difference is that instead of fitting the flexible hose tails and hot and cold water pipes to two separate taps, there will be two inlet feeds in one single-lever tap for cold and hot water.
How to tighten a loose tap
Use the adjustable wrench to secure the nut beneath the basin if your new tap is loose. Then, test the tap to ensure it’s securely fitted and not wobbly.
4. Turn on the water supply
Now, it’s time to turn the water supply back on. Ensure your water faucets are “open” to fill the system with water again. If they are closed, the air pressure could damage the new taps. Check the water supply and temperature in your new taps.
5. Check for leaks
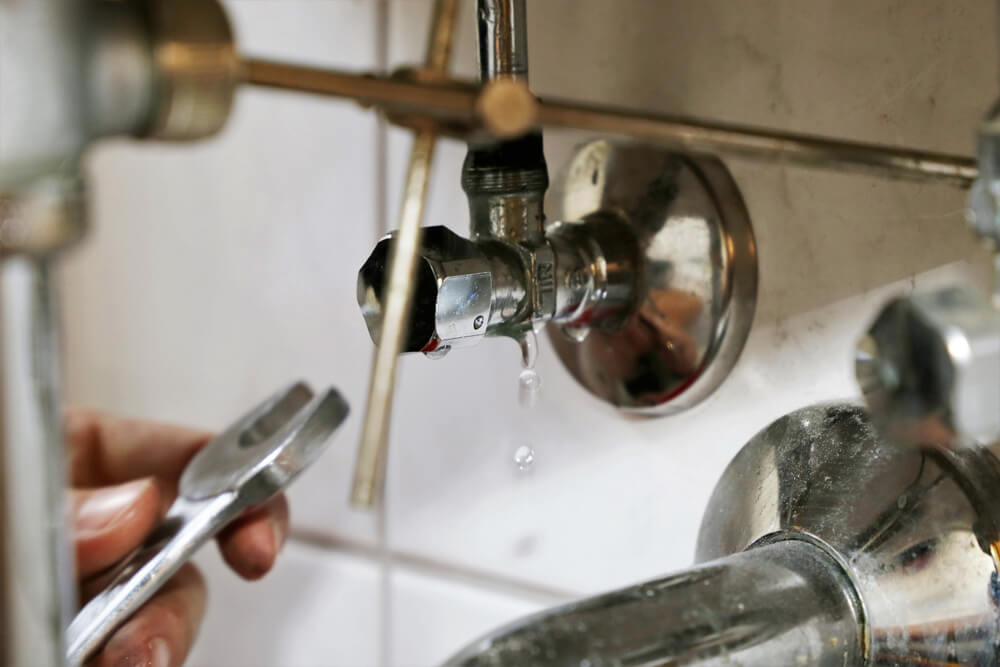
Check for leaks around the connections and tighten them as needed. Replacing or installing bathroom basin taps can be daunting if you’ve never done it before. So always contact your local plumber if you’re unsure about any of the steps above.
Bathroom basin taps at Build & Plumb.
Now that you have all the tools and knowledge to complete your bathroom tap replacement project, we hope you can add the ideal finishing touch to your bathroom.
If you’re still deciding what bathroom taps to get, browse our bathroom basin taps for countless options to suit every bathroom style. Or, browse our plumbing tools and supplies to find everything you need for your tap replacement project.
Comments are closed here.